
Canvas allows instructors to schedule blocks of time for office hours within your Canvas Calendar. When you create an Appointment Group (Canvas’ term for a block of time designated on the Calendar for appointments), your students can then sign up through your Canvas course site to meet with you during your designated office hours.
Creating an Appointment Group for Office Hours
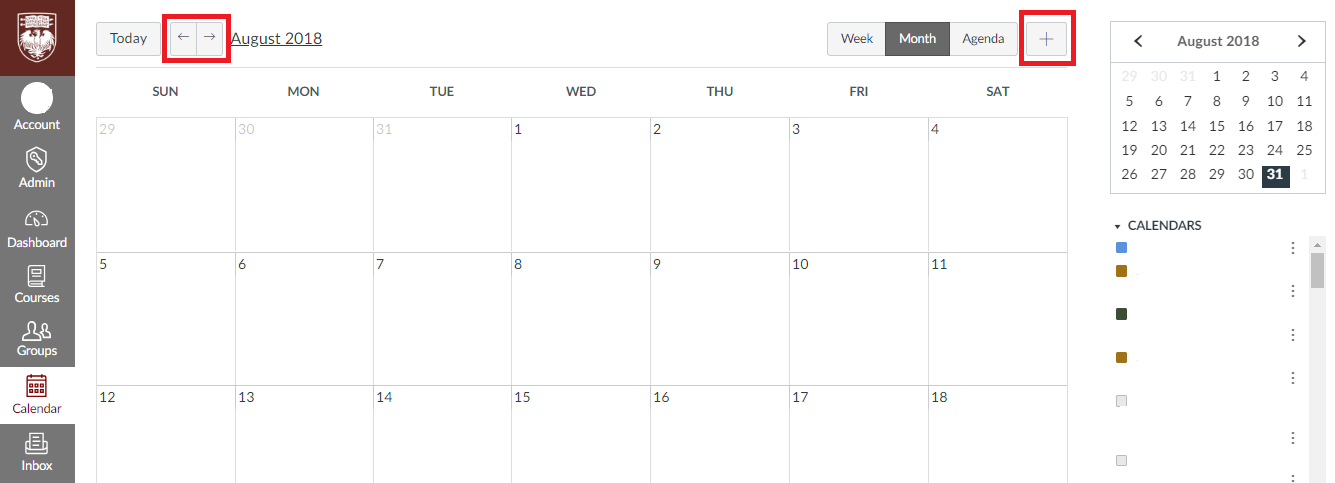
To create an Appointment Group, go to your Canvas Calendar and click either the + (Add) button at the top right or the date on the Calendar when you want to create the Appointment Group. (You can navigate to a different month in the Calendar by using the left/right arrows.) Then choose Appointment Group in the top ribbon of the dialog box that will appear.
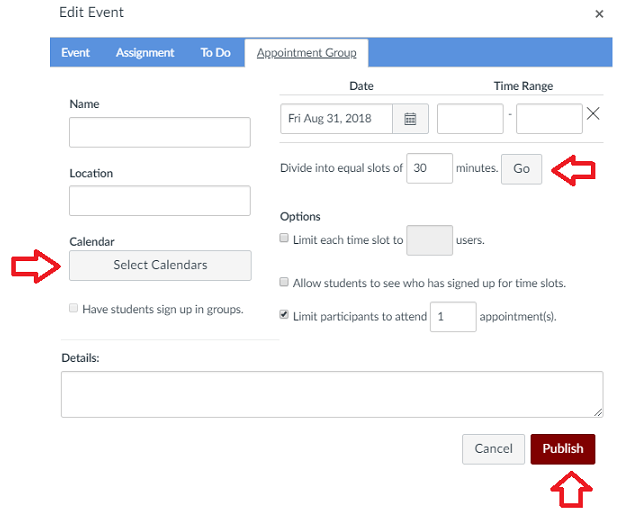
When creating your Appointment Group, you should first specify a name and location for the group (e.g. “Biology Office Hours”, “My Office”). Next, click Select Calendars to choose which calendar(s) you wish to add the Appointment Group to. If you wish to make a single block of office hours available for sign-up to students in multiple sections or courses, be sure to choose all the relevant section/course calendars.
You can then select one or more date-time ranges for the Appointment Group. The Scheduler allows you to automatically divide each block of time into slots of equal length (15 minutes, 30 minutes, etc.) by entering the length and clicking Go. Once the division is complete, you can manually adjust or remove slots if need be. You can also choose how many students can sign up for a particular slot, the maximum number of appointment slots a student can sign up for, and whether or not students can see which slots their classmates have signed up for.
Once your Appointment Group is set up as you wish, be sure to click Publish. This will make it possible for students in your course to sign up in their own Canvas Calendars.
Group Signup
If you have previously created at least one group set in your course, you can allow your students to sign up for office hours in groups by clicking the checkbox next to Have students sign up in groups. (If the course for which you are creating appointment groups does not have any group sets yet, you will be unable to select this box.) See Canvas’ documentation for information on creating group sets and dividing your students into groups.
Editing Appointment Groups and Messaging Students
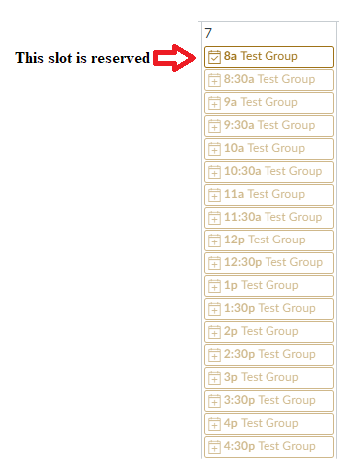
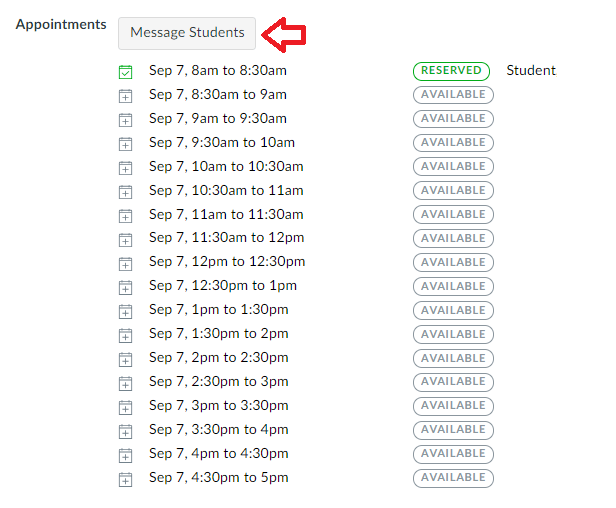
Once you have created an Appointment Group, the slots will appear on the corresponding date on your Calendar. Unreserved slots will appear light, while reserved slots will appear darker.
If you click on an appointment slot, a dialog box will appear with information on attendees. To edit this particular slot, click the maroon Edit button. To edit details for the Appointment Group as a whole, click Group Details.
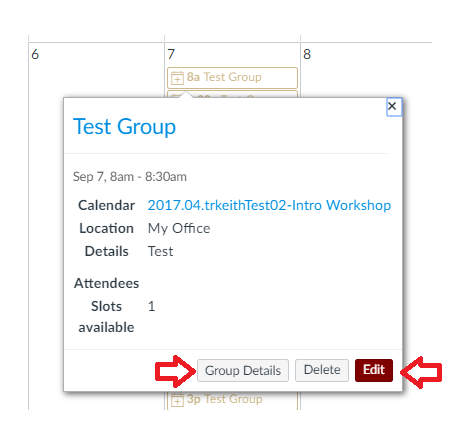
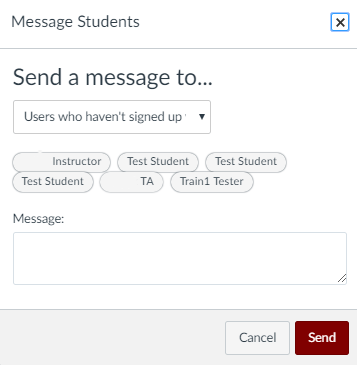
If you choose Group Details and scroll to the bottom of the screen that appears, you will see a button to Message Students. Clicking this button allows you to message users who have not reserved a time slot in the Appointment Group (the default option); all users who are eligible to reserve a time slot in the Appointment Group; or users who have already signed up for a slot.
Help and Further Resources
For a detailed, step-by-step guide to scheduling office hours in your Canvas site, see:
- How do I add a Scheduler appointment group in a course calendar?
- How do I view or edit a Scheduler appointment group in a course calendar?
Also see ATS’ previous blog post: Introducing the New Scheduler
If you have any additional questions, Academic Technology Solutions is happy to help. You can attend one of our walk-in sessions held in the TechBar of the Regenstein Library (see our workshop schedule for upcoming sessions), or contact us at academictech@uchicago.edu.