
Auto Text: “Insert Breast Prophylactic Mastectomy”
Triage
- Verify that the orientation on the requisition matches the container label and the actual specimen.
- Weigh.
- Measure medial to lateral, superior to inferior, anterior to posterior.
- Measure skin ellipse, areola, nipple.
- Ink all cases as follows:
- Deep/posterior surface = black
- Anterior-superior surface = blue (sky!)
- Anterior-inferior surface = green (grass!)
- Dry off excess ink! Apply vinegar to help ink stick to tissue.

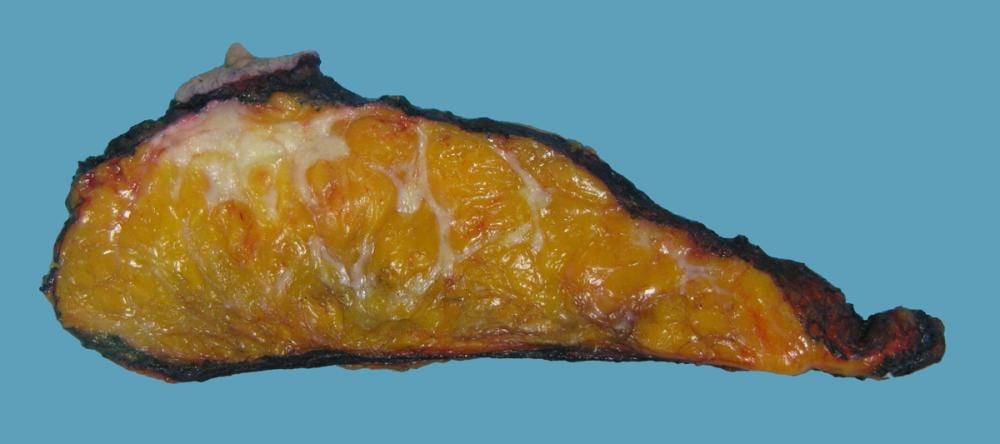
- Serially section the specimen at the DEEP surface from medial to lateral, NOT cutting all the way through.
- Take note of any identifiable lesions (size, location, slice #, distance to margin).
- Wrap strips of gauze in between the slices in order to wick formalin between the slices.
- Fix in formalin.
- Note the time the specimen is placed in formalin.
- Ensure that the specimen is in a container in which the volume of formalin is 10-times the volume of the tissue.

Gross
- If lesions are identified, submit, stating size, location (quadrant), slice #, and distance to margins.
- Take ONE representative section of fibrous tissue from each of the four quadrants AND CENTRAL BREAST: UOQ, UIQ, LOQ, LIQ, central breast (5 sections total). Remember the goal is to sample throughout the fibrous breast tissue.
- Fibrous tissue present here under nipple:

- Take a single representative section of skin.
- Take a single representative section of nipple with areola.
- For ALL breast cases, dictate the following: Tissue fixed for at least 6 hours in 10% NBF and no more than 72 hours. (Auto Text: “Insert Breast Fixation”)
Updated 06-05-2021 NAC
